Baking right for your blood type can be easy and fun. The key to success is to be prepared and plan ahead. One way to do this is to make a triple batch of a right for your type baking mix long before you ever plan on baking. Keep it handy in a sealed jar in the pantry, and either freeze the rest to increase shelf life or "oven-can" the remaining mix. This process will allow your baking mix to stay fresh for at least 18 months! Some sources go as far as to say that oven canning dry goods keeps them safe for 20 years, but we haven't been doing this long enough to know this for sure.
Here are quick, blood type specific recipes for a baking base as well as simple instructions on how to oven can. Please note that we are providing the recipe/ratio for 1 batch. Multiply the ingredients for larger batches, keeping the ratio the same.
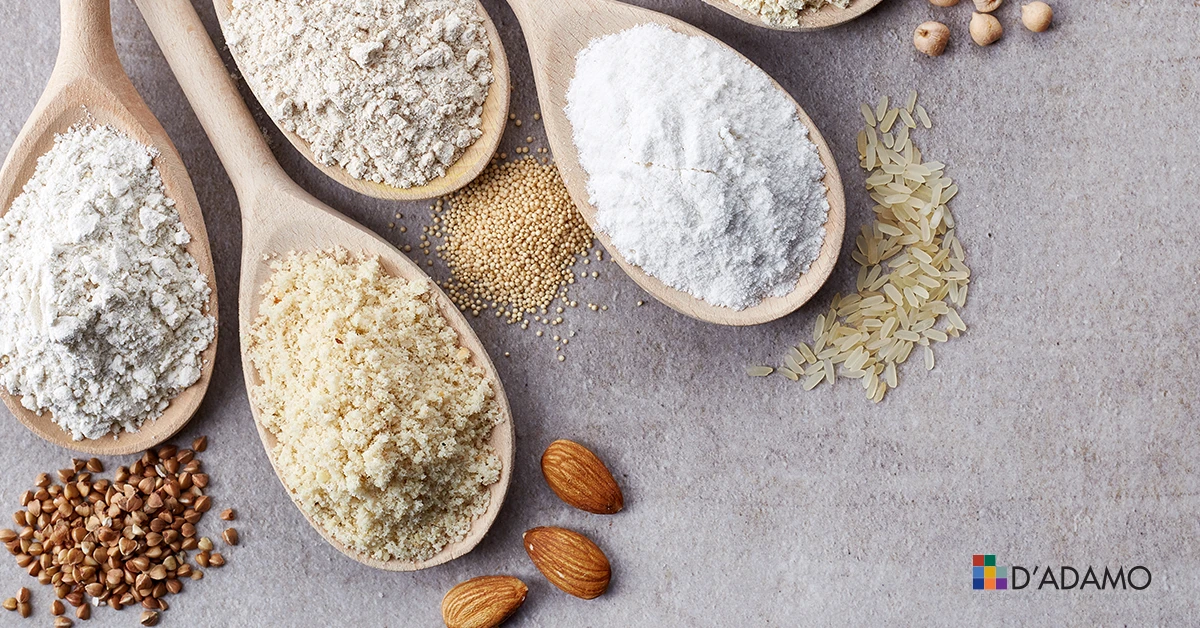
Baking Mixes Right for Each Blood Type:
(These are just our suggestions. Feel free to experiment and create your own.)
Combine all the ingredients together in a bowl. Make sure to mix well.
 |
Type O Everyday Baking Mix
|
|
|
Type A Everyday Baking Mix
|
|
|
Type B Everyday Baking Mix
|
|
|
Type AB Everyday Baking Mix
|


Oven-Canning
To get started, make sure you have the following:
- All the ingredients for your right for your type baking mixes
- Quart size mason jars and lids
- Pot-holders
- Cloth to wipe down the jars
- Good music (optional)
Key steps:
- Preheat over to 200 degrees Fahrenheit
- Fill your clean canning jars with baking mix, leaving ½ in at top
- Put open jars in oven and set timer for 1 hour
- Remove jars from oven – use potholder!
- Wipe rim of jar with damp towel
- Place metal canning lid on jar and then screw on metal band tightly
- Return jars to oven for 30 minutes
- Remove jars from oven and cool
- Check lids for tight seal
IMPORTANT NOTE: Oven-canning is only used for dry goods, with no fats or oils. Do not use this for any fruits, veggies or meats. Label the jars with the date made, and store your oven-canned baking mixes in a dry, cool cabinet or shelf.
With these tips, you'll be well on your way to creating and canning baking mixes in no time so you'll always have one Right 4 Your Type on hand when you need it!